Enhancing Quality Assurance with Clash Detection in Engineering
Engineering and construction projects are becoming increasingly complex, involving numerous stakeholders, advanced designs, and tight deadlines....
4 min read
Blue Collar Nov 14, 2024 12:39:23 PM
Table of Contents
In today’s manufacturing landscape, ensuring that the final product meets exact specifications is critical. While traditional measurement methods can work well for straightforward designs, more complex structures, especially those with curves or welds, present challenges that can slow down the process and introduce inaccuracies. This is where 3D scanning steps in as a game-changer for post-fabrication quality control, offering unparalleled precision and efficiency.
In this blog, we’ll explore how 3D scanning technology has become an indispensable tool for verifying product accuracy after fabrication, helping manufacturers ensure their products meet the tight tolerances set by engineering drawings.
In modern manufacturing, ensuring that the fabricated components match the design specifications is crucial, especially when producing complex parts like round vessels or components with welds. Traditional manual measurement techniques, while reliable for some applications, often struggle to deliver consistent and precise results when dealing with curved surfaces or areas obscured by welds. This is where 3D scanning truly shines.
3D scanning provides a high-precision, non-contact method to capture the exact dimensions of a finished product, making it easier to verify if it adheres to the original engineering drawing. The ability to scan entire surfaces, regardless of shape or texture, offers a level of accuracy and speed that manual methods simply cannot match.
Let’s look at two common challenges in post-fabrication quality control that 3D scanning addresses:
Weld Obstructions and Datum Points
In many fabrication projects, welds can obscure crucial datum points, making it difficult to take accurate measurements using traditional manual tools like calipers. These obstructions often lead to inconsistent readings, resulting in potential deviations from the required specifications.
By using 3D scanning, the entire surface of the fabricated part—including areas near or around welds—can be captured accurately. This ensures that measurements are consistent, even when certain datum points are obscured. The result is more reliable data for comparison with the design tolerances.
Complex Shapes and Curved Surfaces
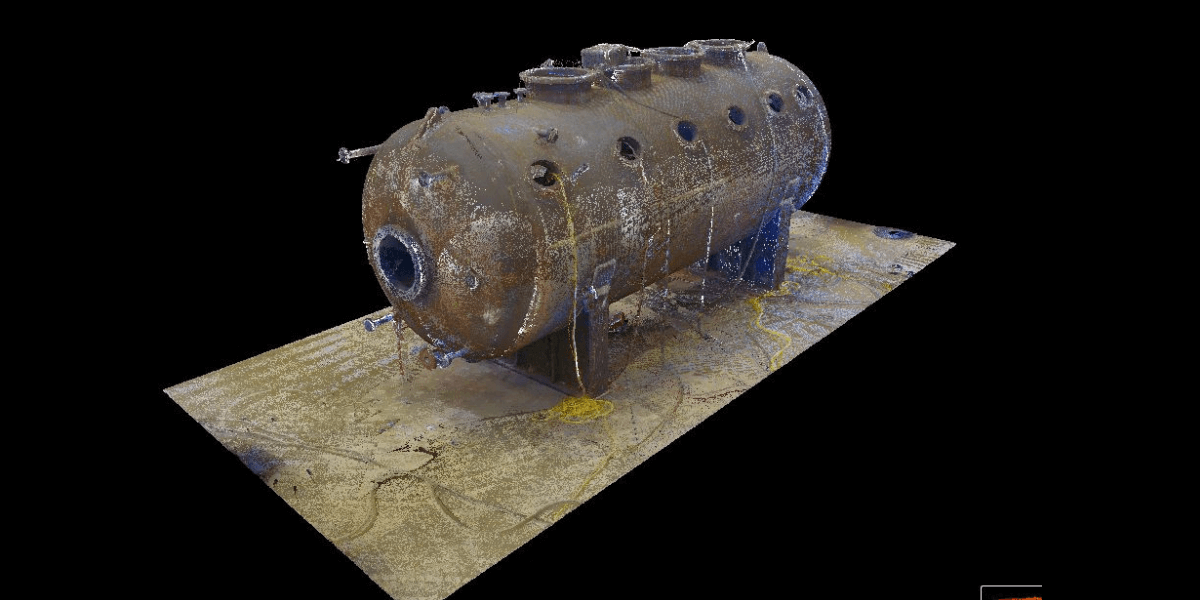
When dealing with round or curved structures, such as vessels or spherical components, manually obtaining precise measurements can be both time-consuming and challenging. The curvature makes it difficult to position manual tools correctly, leading to potential inaccuracies or significant delays in the quality control process.
3D scanning technology effortlessly captures the dimensions of these complex shapes by scanning the entire surface in one go. This process reduces the need for labor-intensive manual measurements and ensures that the final product conforms to the exact specifications outlined in the engineering drawing.
.png?width=650&height=400&name=Quality%20Control%20%203D%20Scanning%20Page%20(1).png)
To better understand the advantages of 3D scanning over traditional measurement methods, let’s break it down:
Speed: While manual measurement methods may require hours or even days to capture data from complex surfaces, 3D scanning can complete the process in a fraction of the time.
Accuracy: Traditional tools often struggle with complex shapes or areas where datum points are obstructed, leading to potential errors. 3D scanning eliminates this issue by capturing the entire surface with pinpoint precision.
Documentation: 3D scanning also creates a digital record of the entire part, making it easy to reference the data later for auditing purposes or future fabrication adjustments.
Incorporating 3D scanning into the post-fabrication quality control process has a profound impact on the overall efficiency and accuracy of manufacturing. The technology enables manufacturers to:
Reduce Rework: By catching dimensional inaccuracies early in the process, 3D scanning prevents costly rework down the line.
Improve Consistency: Scanning ensures that measurements are consistent across all components, particularly in situations where manual measurements would vary due to complex geometries.
Enhance Product Quality: The ability to quickly verify that the final product matches the engineering drawing specifications means fewer defects, higher customer satisfaction, and a more streamlined production process.
%20(1).png?width=650&height=400&name=Services%20%203D%20Scanning%20(4)%20(1).png)
At Blue Collar Engineering, we cater to diverse sectors where accuracy, speed, and quality are essential. The role of 3D scanning in post-fabrication quality control stretches across a wide range of industries. Here’s how 3D scanning is making a difference in the following industries:
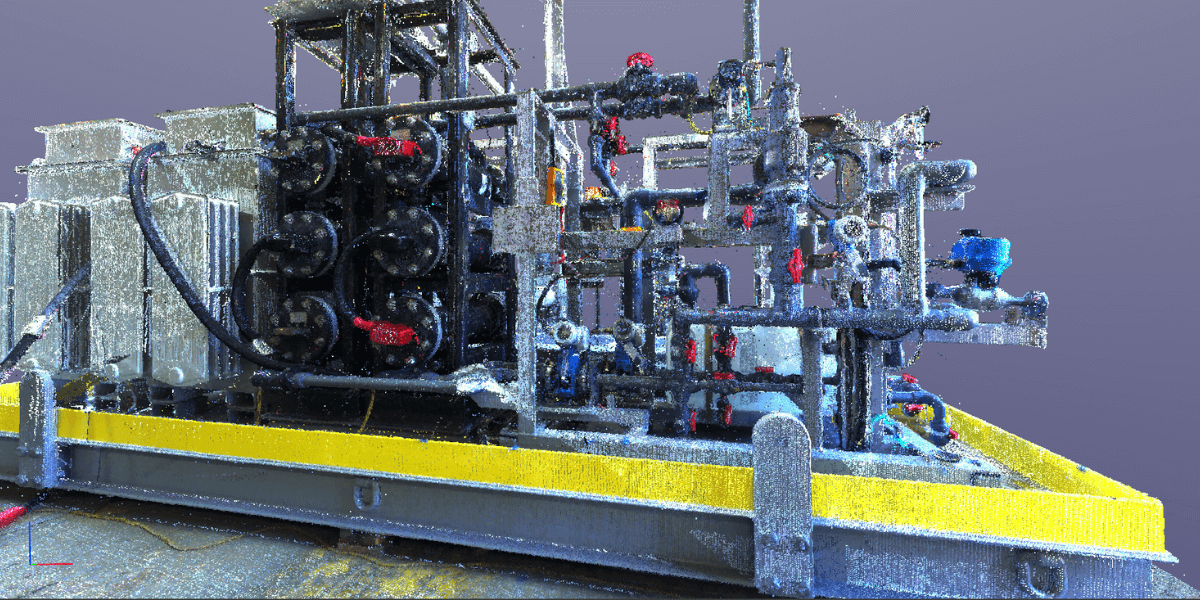
Food and Beverage: In food and beverage processing, equipment must meet strict hygienic standards. 3D scanning ensures that complex equipment, such as mixing vessels, piping systems, and conveyors, conform to precise specifications, minimizing contamination risks and ensuring efficiency.
Oil & Gas: In the oil and gas industry, 3D scanning is essential for verifying that fabricated components—such as pressure vessels, pipelines, and storage tanks—meet precise specifications. By detecting measurement deviations in pipe nozzles, 3D scanning ensures alignment with end-user piping requirements, enhancing safety and compliance in demanding environments.
Outdoor Industry: In the outdoor recreation and equipment industry, 3D scanning is used to ensure that parts for products such as camping gear, bikes, or all-terrain vehicles are accurately produced. Precision is vital to ensure durability and functionality in outdoor conditions.
Machining: For the machining industry, precision is everything. 3D scanning ensures that machined parts like gears, shafts, drill pipe float valves, and custom components meet tight tolerances. This leads to reduced rework, higher-quality parts, and faster production cycles.
Fabrication: In fabrication, especially for structures involving custom metalwork, 3D scanning verifies that the final product matches the exact dimensions of the design drawings. Whether it’s steel beams, custom fixtures, or welded assemblies, scanning ensures everything is aligned to the required specifications.
If you're dealing with complex geometries, weld obstructions, or time-consuming manual measurements, 3D scanning offers a reliable solution to simplify your quality control process. By integrating this technology, you can ensure that every part of your fabrication process meets the required specifications with higher speed and accuracy. Not only does this lead to better quality products, but it also optimizes your production line by reducing delays and rework.
At Blue Collar Engineering, we specialize in implementing cutting-edge technologies like 3D scanning to improve manufacturing outcomes. Whether you’re working on a large-scale project or a smaller production run, our team can help ensure that your final products meet the highest standards of quality.
Incorporating 3D scanning into your post-fabrication quality control process can transform the way you verify product accuracy. By addressing the limitations of manual measurement methods and ensuring precise results, 3D scanning is setting a new standard for quality control across industries.
Interested in how 3D scanning can improve your manufacturing processes? Reach out to Blue Collar Engineering to learn more about our 3D scanning and quality control services.
At Blue Collar Engineering, we specialize in turning concepts into reality. With expertise in 3D scanning, design and drafting, prototyping, engineering, and production management, our team is dedicated to bringing your ideas to life with precision and passion.
From initial concept to final product, we are committed to delivering innovative solutions that meet and exceed your expectations. Whether you're in the food & beverage, oil & gas, or outdoor industry, our multidisciplinary team is equipped to provide turnkey solutions tailored to your needs.

Engineering and construction projects are becoming increasingly complex, involving numerous stakeholders, advanced designs, and tight deadlines....

In the fast-paced world of engineering, innovation is key. Among the most groundbreaking advancements is 3D laser scanning. This technology is...

When it comes to engineering, precision and efficiency reign supreme. To achieve these goals, engineers are increasingly more often turning to...